Table of Contents
Pacific SIS Developer Guide
Introduction
The Pacific SIS is a student information system (aka. school information system) and is a sister project of the Pacific EMIS. The Pacific SIS is more geared towards lower level day-to-day management of granular data in schools.
Project Overview
The Pacific SIS is a modern single page web application. It is essentially a modernized and highly improved version of the classic openSIS.
Project Structure
The structure of the project source is as follows:
- API: the backend running entirely on the server. It contains various projects and can be opened as a solution in Visual Studio
- UI: the frontend running entirely in the browser. It contains the user interface dependencies and code (TypeScript, HTML, CSS) and is typically developed in Visual Studio Code.
Operating System
The Pacific SIS can be developed (almost) on any operating system. The backend typically runs in Visual Studio which runs in Microsoft Windows and macOS. The frontend typically is developed in Visual Studio Code and thus could be on Microsoft Windows, macOS and Linux.
The deployment of the Pacific SIS can be done in any operating system though it mostly tested on Linux.
Database Engine Installation
The only database engines currently supported are Microsoft SQL Server (SQL Server), MySQL and MariaDB. Most deployments are currently on MySQL and this is where it is better tested.
Programming Language
The programming language on the backend is C# using dotnet 6.0. The frontend is made up of HTML, CSS, Javascript and TypeScript with the Angular framework.
Built Tools and Package Manager
A collection of auxiliary tools not part of the actual application but used in automating deployment, frontend package management, etc. are also used:
- NodeJS is the platform used to run Javascript on the server. It is necessary to run the other tools (i.e. npm, webpack). This is not part of the application once deployed but used on the developer's workstation only.
- NPM will be installed with NodeJS above. It is the package manager and is used mainly to install dependencies and other tools used by the frontend. You can see the currently used npm packages in
packages.json.
Setting Up the Development Environment
The easiest way to get a development environment and start developing on the Pacific SIS is on Windows with instructions below.
Main Development Tools
Most developers currently use Visual Studio, Visual Studio Code, dotnet 6.0, MySQL, NodeJS/NPM. And SourceTree/Git is useful to manage code evolution:
- Download and install Git
- Download and install latest Visual Studio (developers mostly on 2019 or 2022).
- Download and install MySQL Community Version (the server and workbench).
- Download and install latest LTS NodeJS.
- [Optional] Download and install SourceTree (useful for Git).
Download the Pacific SIS Source
The best way to start work on the Pacific SIS is to fork it in your own Github account. If new to forking read Github's Fork a Repo Documentation. Then clone your own forked Pacific SIS into your development machine. If new to cloning read Github's Cloning a repository
Visual Studio Setup
Make sure you have the following workloads enabled:
- ASP.NET and web development
- .NET Core cross-platform development
This should contain the latest dotnet but if not for whatever reason (e.g. different version of Visual Studio installed) you can download dotnet 6 here
You can then open the backend solution in Visual Studio (i.e. API/opensisAPI.sln). You will see a list of projects including:
- JSReport
- opensis.backgroundjob
- opensis.catelogdb
- opensis.core
- opensis.data
- opensis.dbackup
- opensis.NunitTest
- opensis.report
- opensis.Test
- opensisAPI (set as startup project shown in bold)
Database Setup
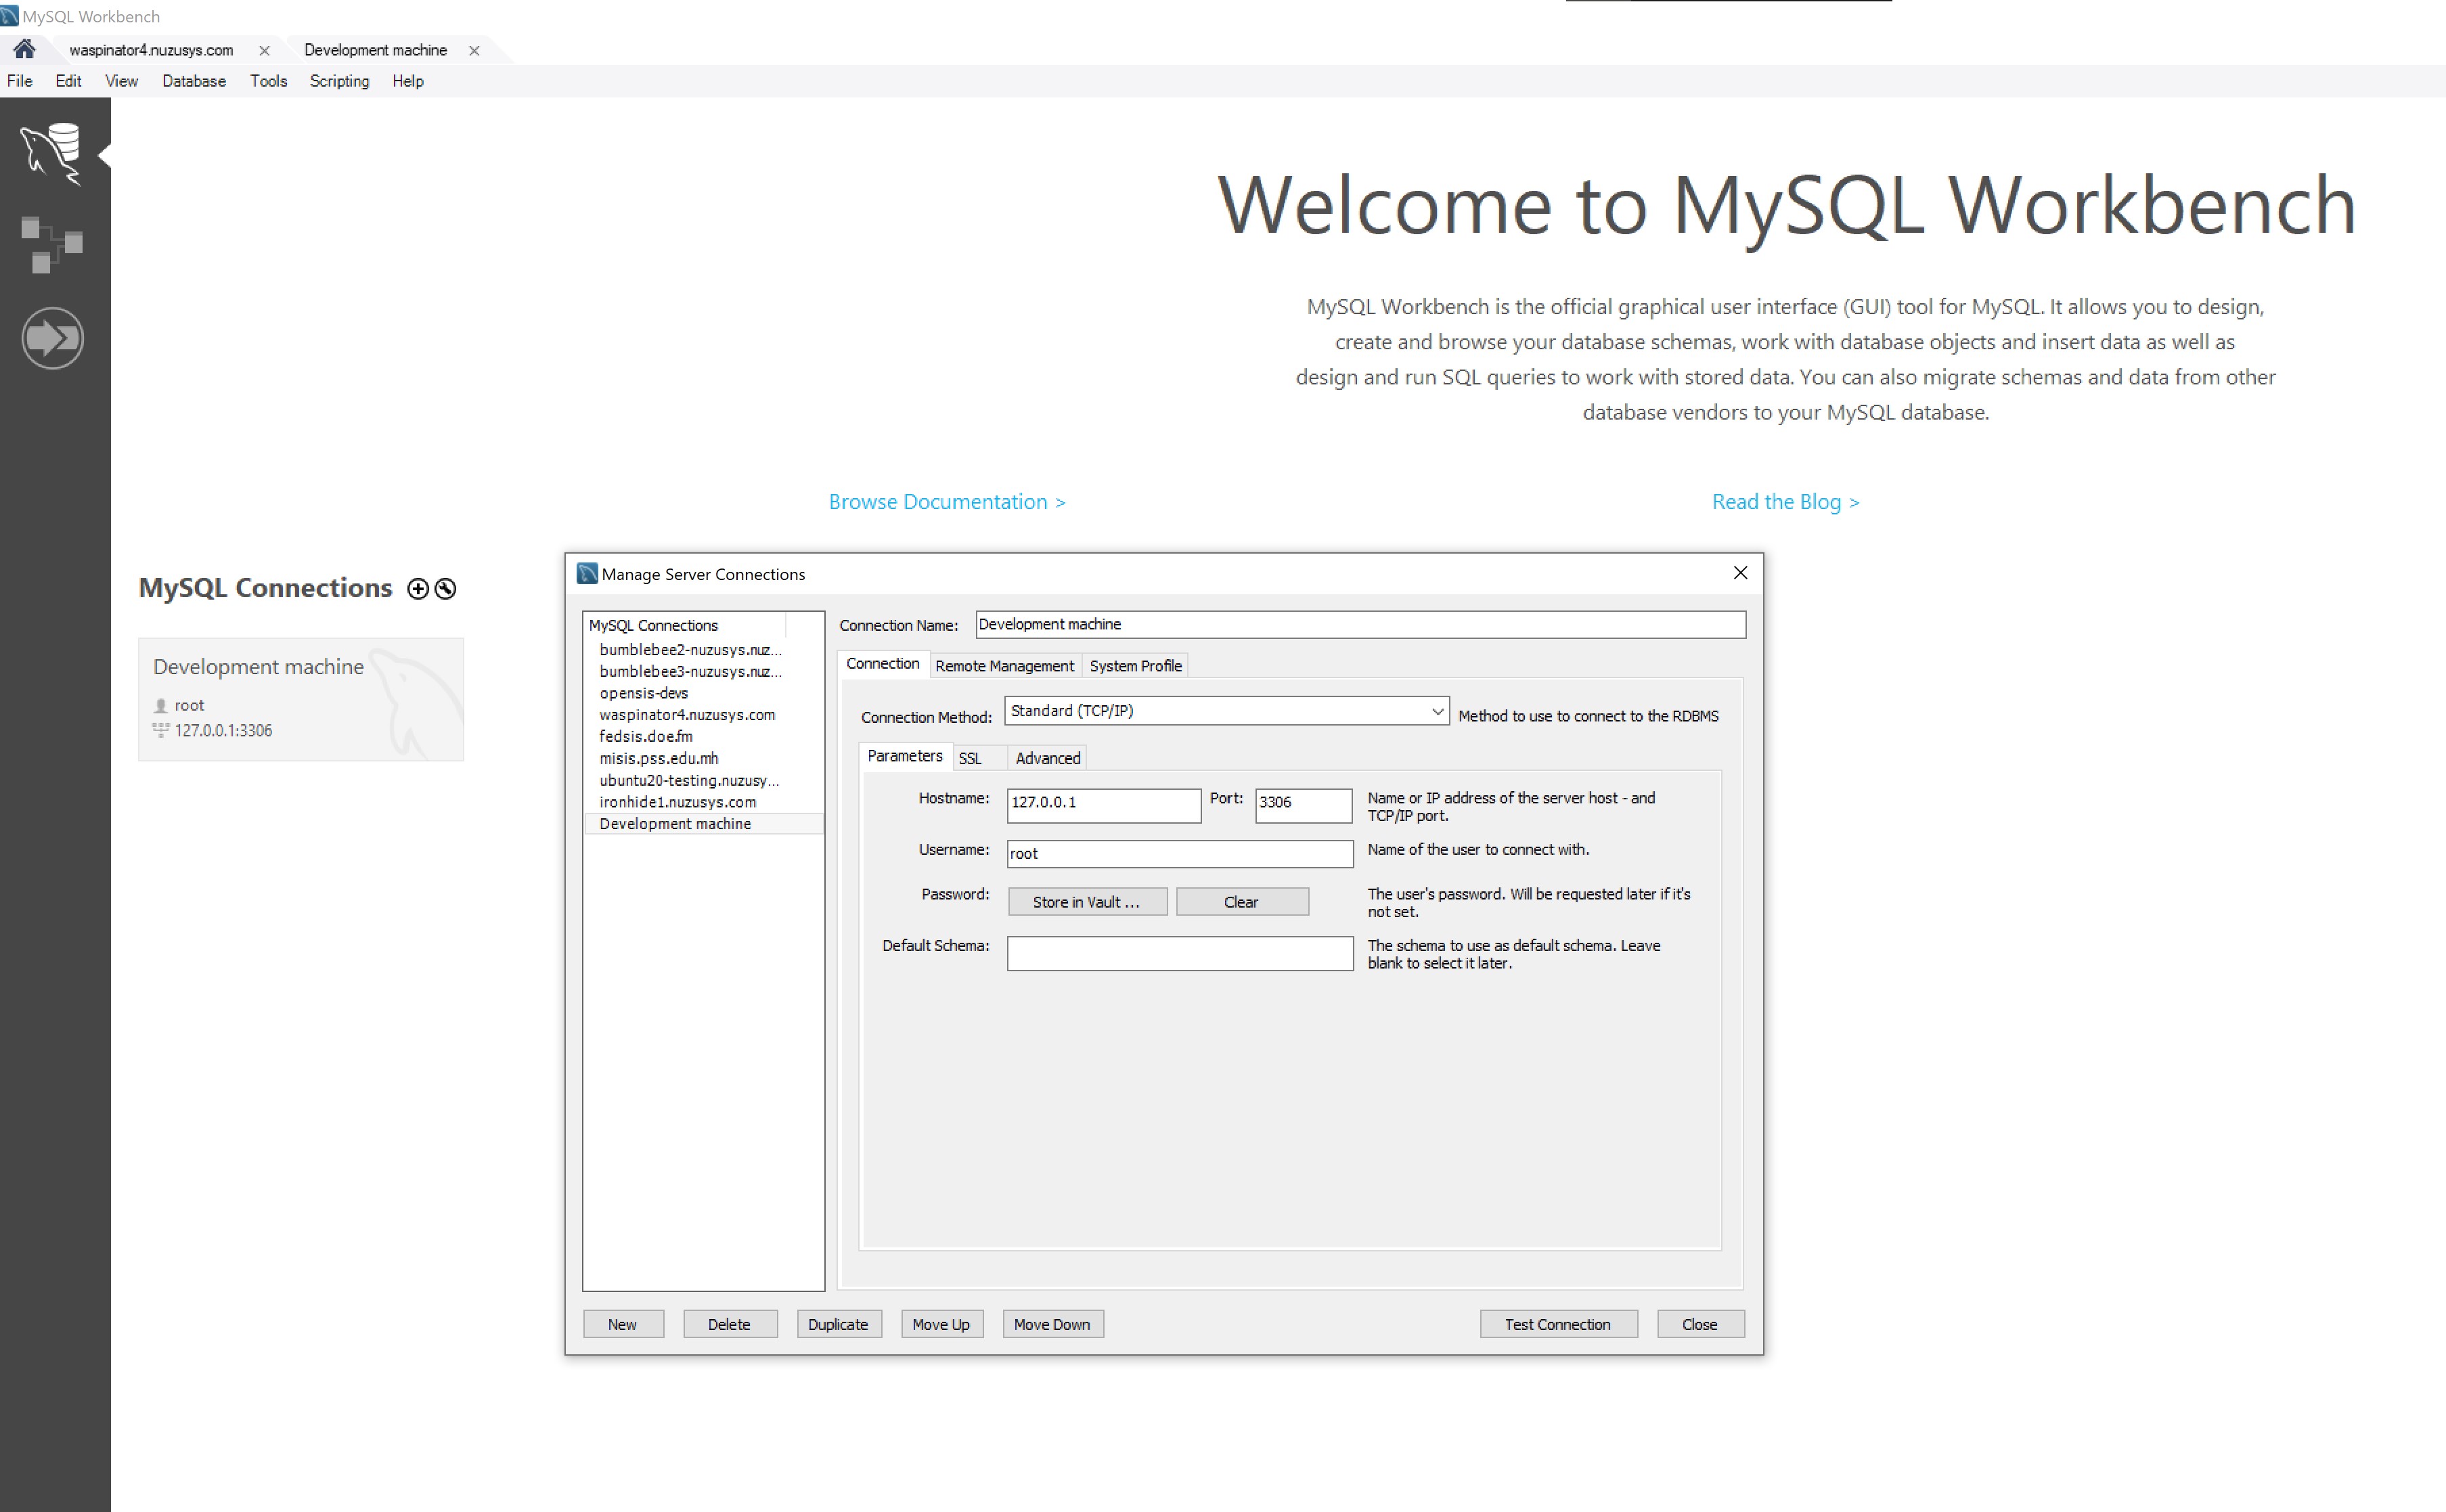
While MS SQL Server, MySQL and MariaDB are all theoretically supported, most development and production take place on a MySQL Server. So make sure MySQL server is installed and running. Optionally configure access to it with MySQL Workbench.
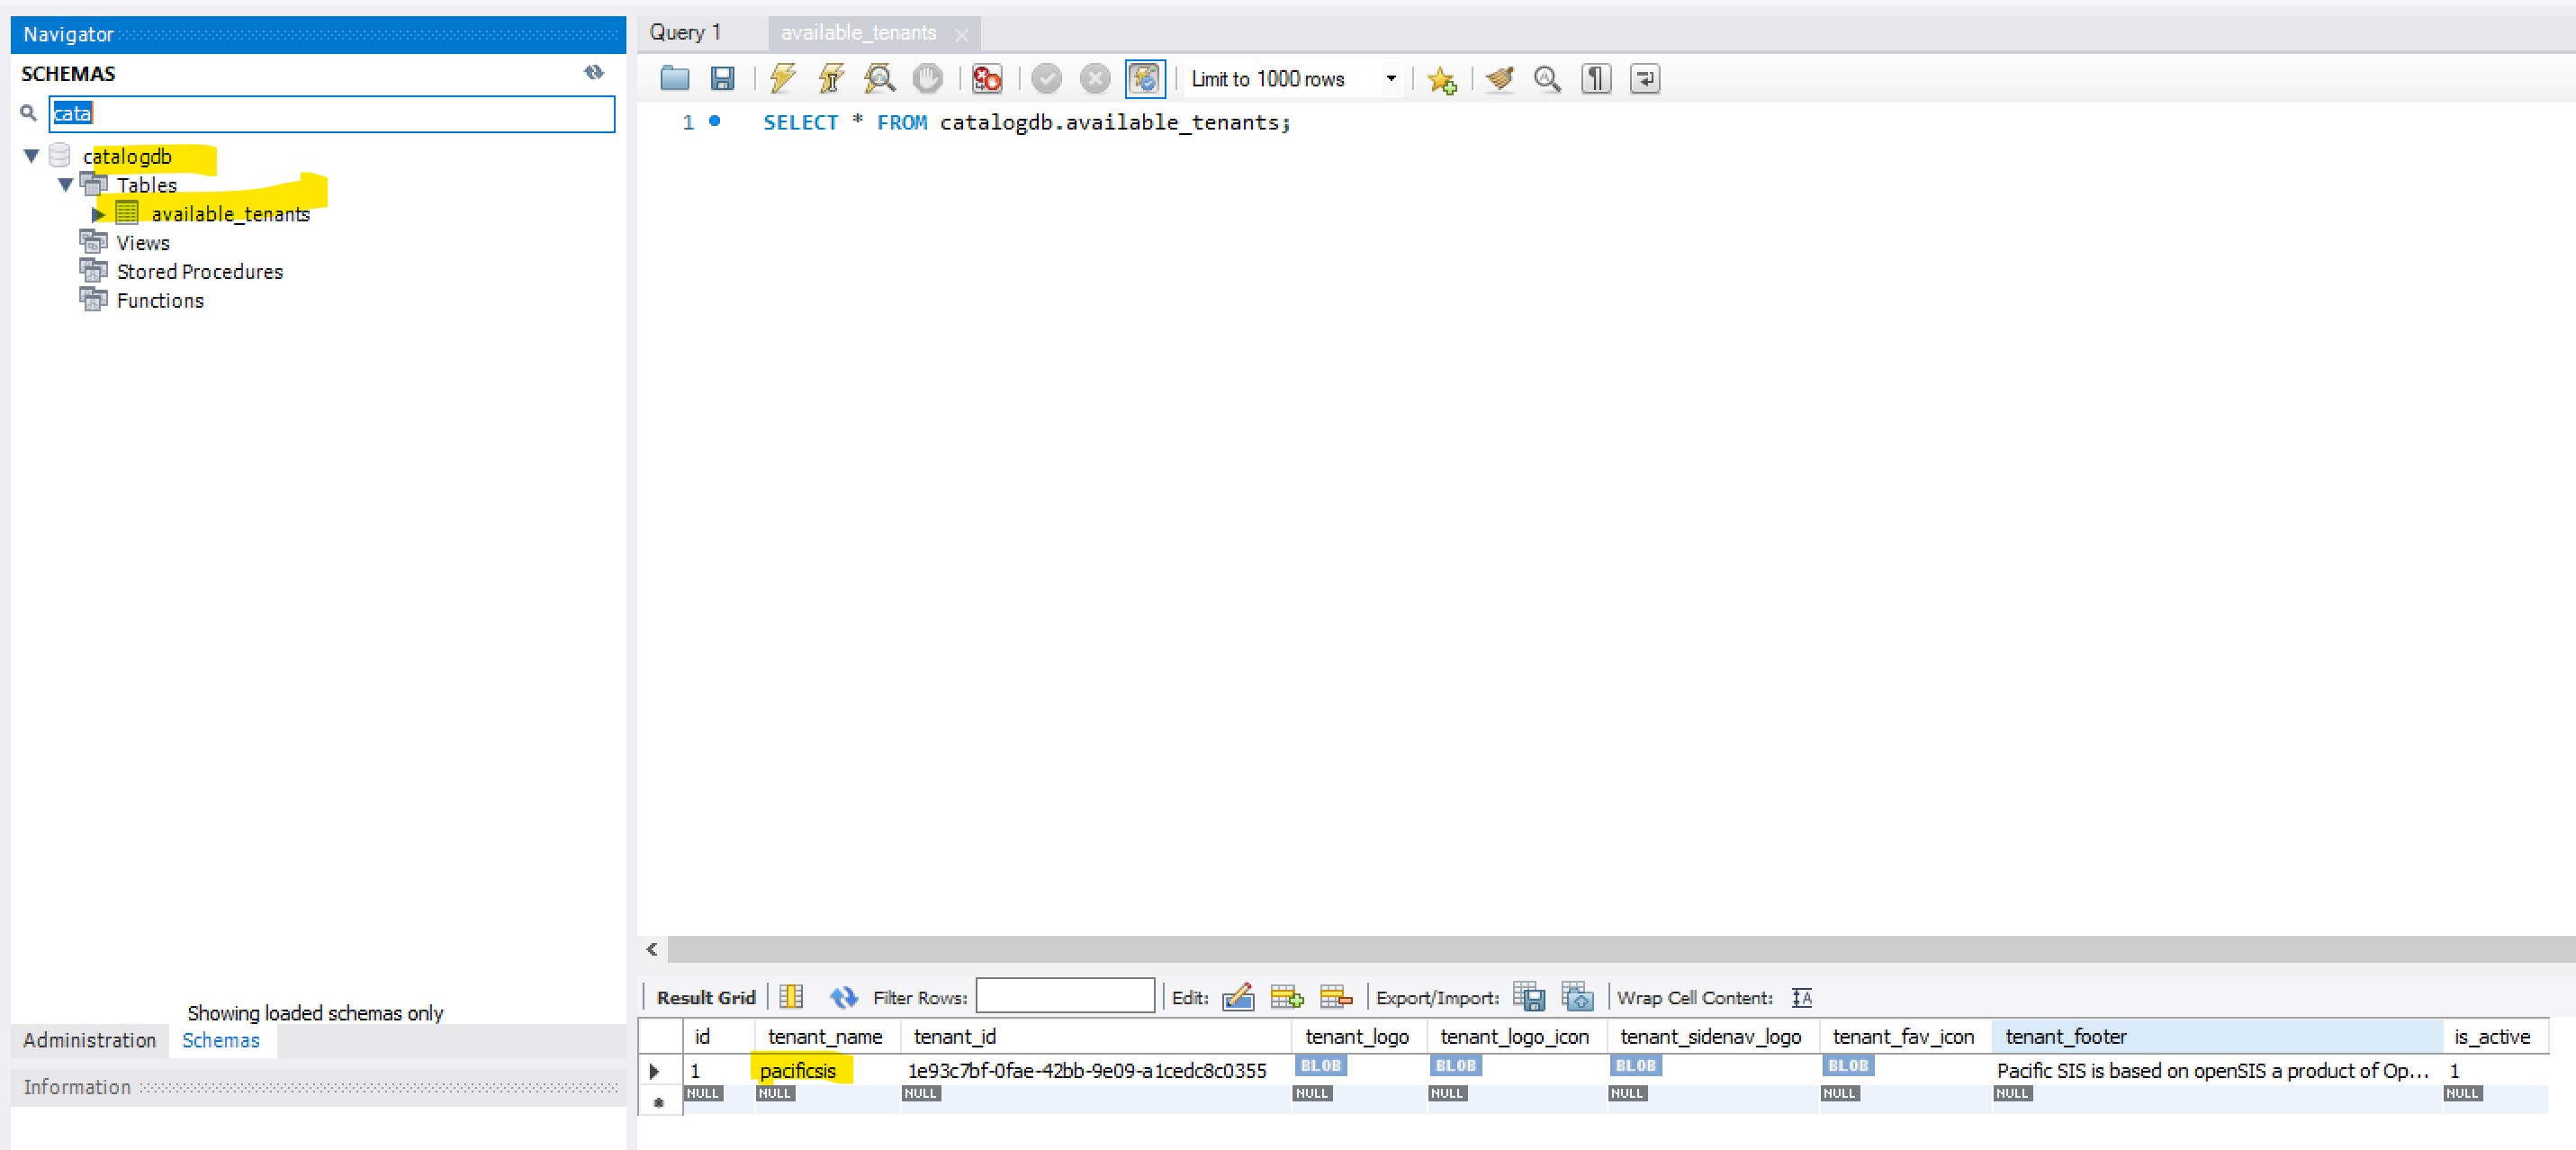
Two databases are needed:
- catalogdb that holds only some details about the deployment like the name of the database, title, logos, etc.
- pacificsis that is the main database that powers the application. It could and should be named differently.
The backup will need access to the databases and this is done in the API/opensisAPI/appsettings.json file as shown below.
{
  "Logging": {
    "IncludeScopes": false,
    "LogLevel": {
      "Default": "Trace",
      "Microsoft": "Warning",
      "Microsoft.Hosting.Lifetime": "Information"
    }
  },

  "ConnectionStringTemplateCatalogDBMySQL": "server=localhost;database=catalogdb;user=opensisadmin;password=yourpassword",
  "ConnectionStringTemplateMySQL": "server=localhost;database={tenant};user=opensisadmin;password=yourpassword",


  "dbtype": "mysql",
  "AllowedHosts": "*"
}
As you can see there is no need to specify the database name as it is then configured in the catalogdb as shown below.
Building and Running Backend
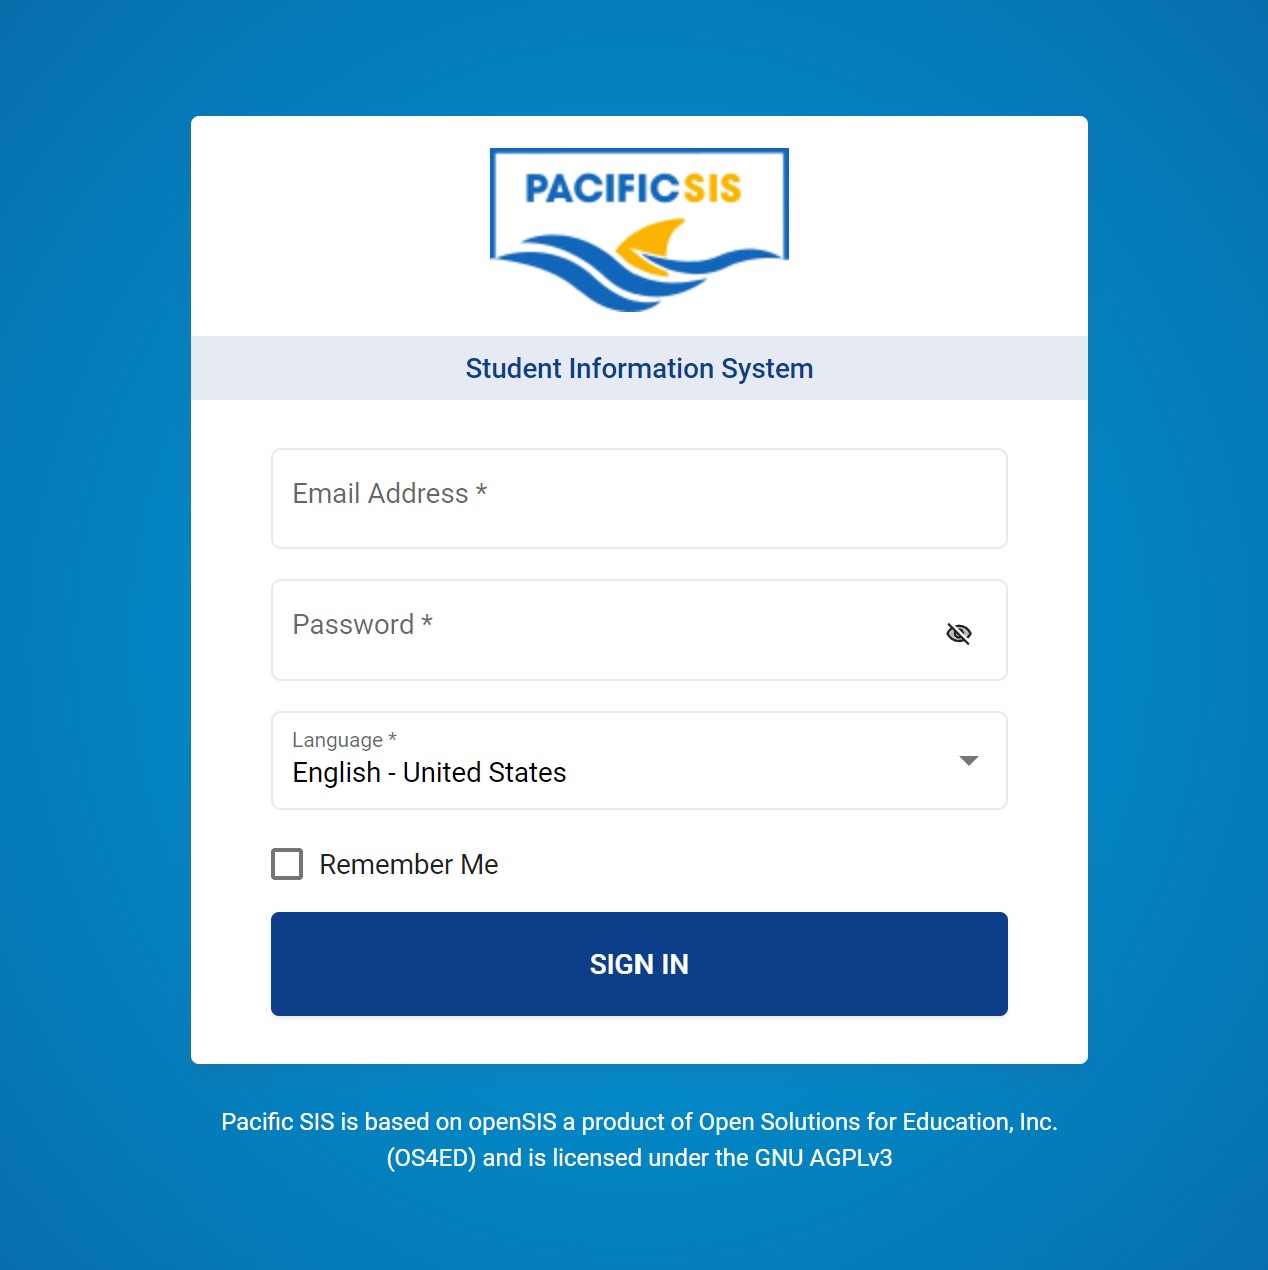
Still in Visual Studio, you can build entire solution. Then run the web application in debug mode. If all went well you should see the following pop up in your browser.
Install Frontend Dependencies
You can install Angular from command line with following command.
> npm install -g @angular/cli
Browse to the Pacific-SIS/UI folder and execute the following to install all the dependencies.
> npm i
Frontend Setup
You need to configure the frontend to “talk” to the backend. You do this by editing the file
Pacific-SIS\UI\src\assets\config.json as shown below. Make sure the apiURLOpensis and apiURL point to the available backend.
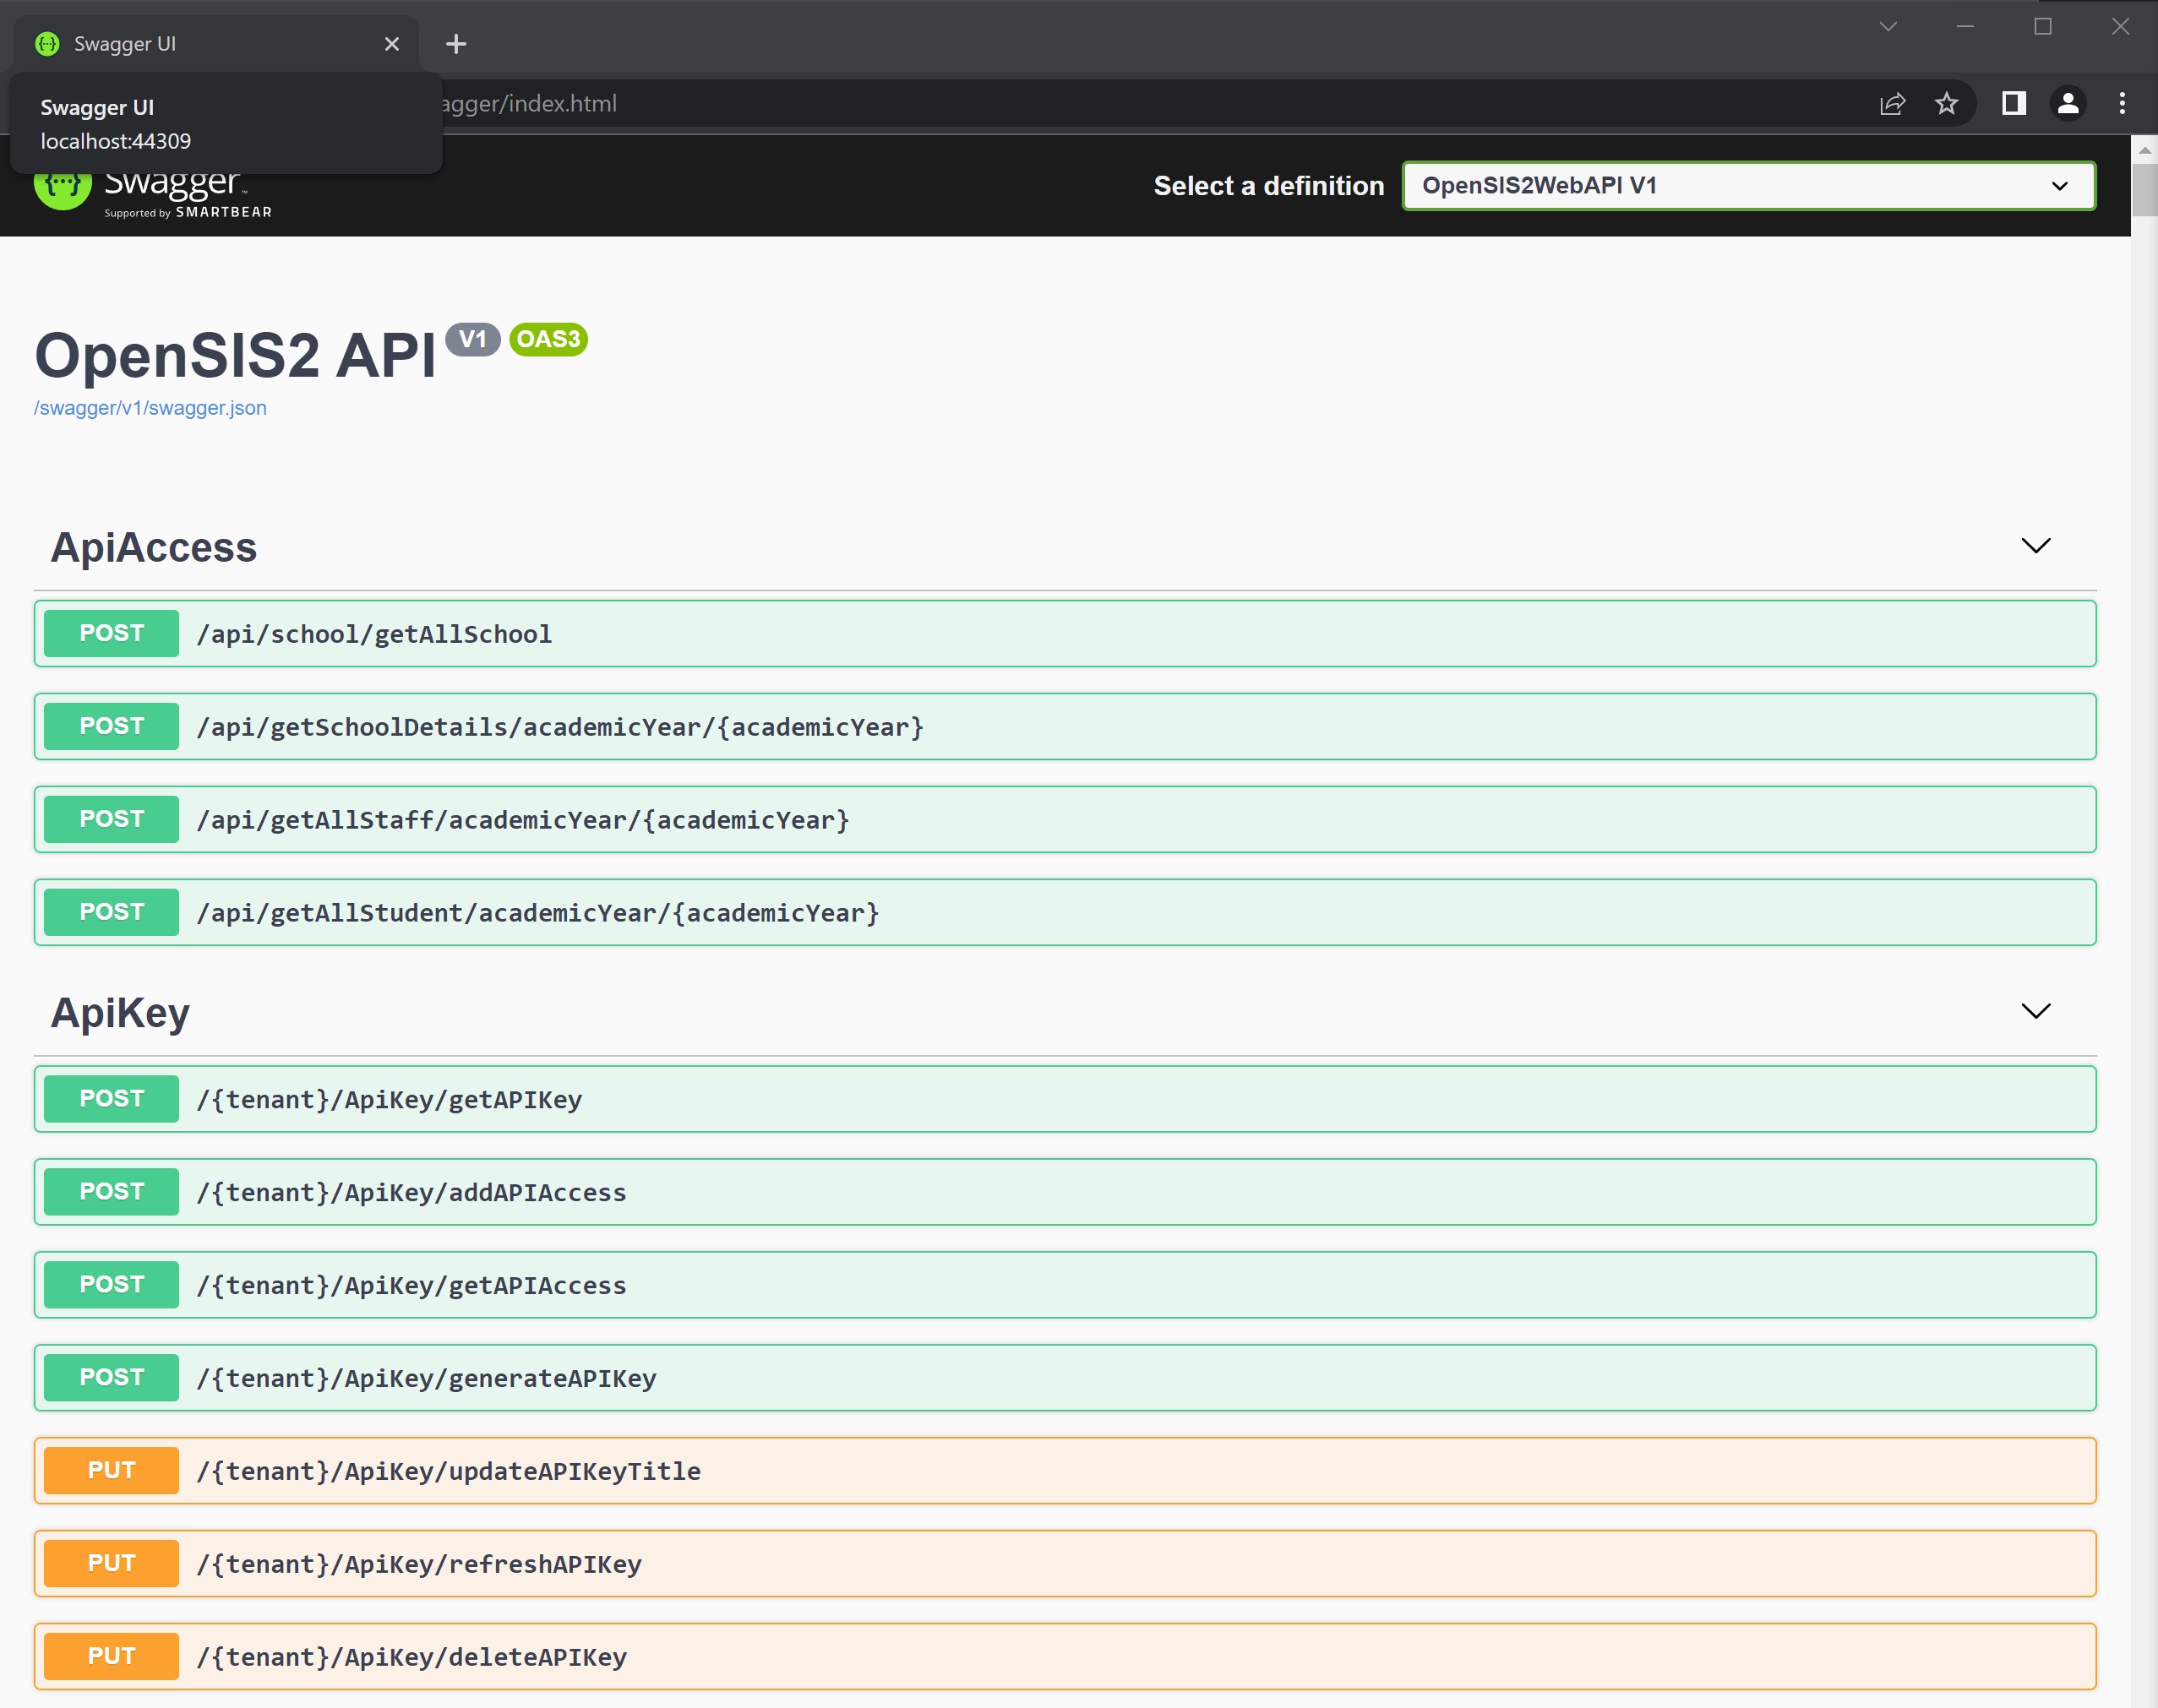
{

    "apiURLOpensis":"https://localhost:44309/",
    "apiURL":"https://localhost:44309/",

    "encryptionKey" :"encryptionkeyhere",
    "dataEncryptionKey" :"encryptionkeyhere"

}
Building and Running the Frontend
This is simply a matter of starting the angular development web server and can be done using npm automation tools. Browse to the Pacific-SIS/UI folder and execute the following. This will first build all module (Typescript to Javascript) and then run the results into the browser using another web development server.
> npm start
If all went well you should see the following login page when pointing your browser to http://localhost:4200/.