This is an old revision of the document!
Table of Contents
Pacific EMIS Education Survey Tool Android App User Guide
The following sections describes how to work with the Education Survey Tool.
Opening the app
You open the app just like any other apps. From your tablet's list of apps screen locate the Education Survey Tool app as shown below and start it.

After a brief welcome screen you should be at the home page as shown below.
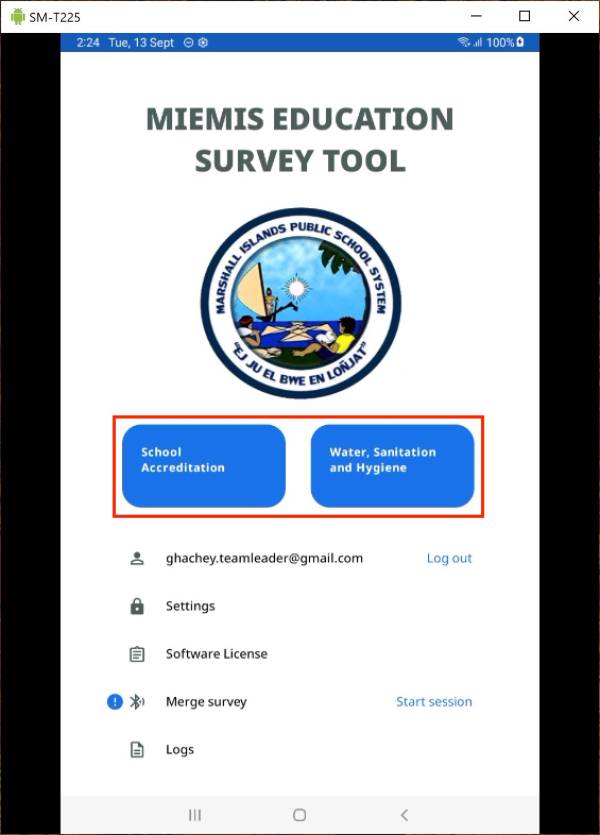
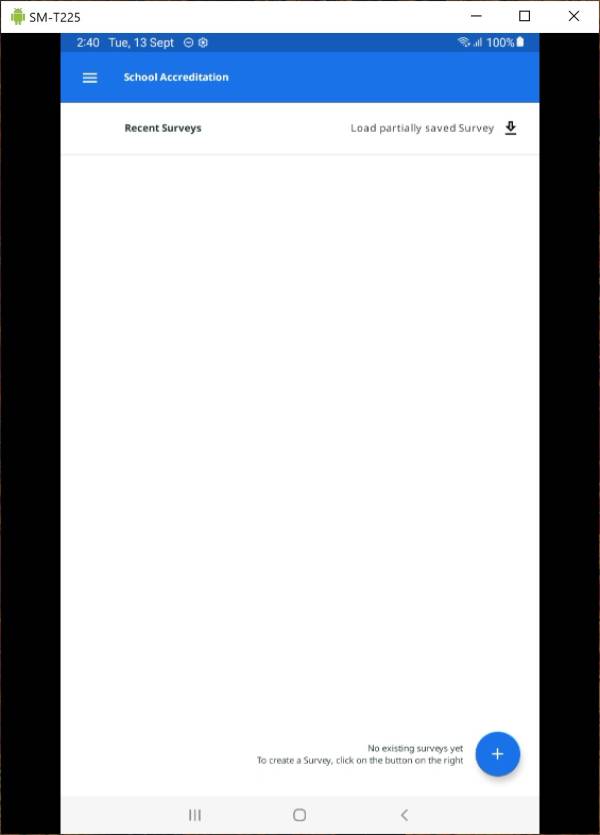
The list of available surveys as shown in red rectangle. If you click on one (School Accreditation for example) you will see the below if no surveys were ever created on the tablet yet.
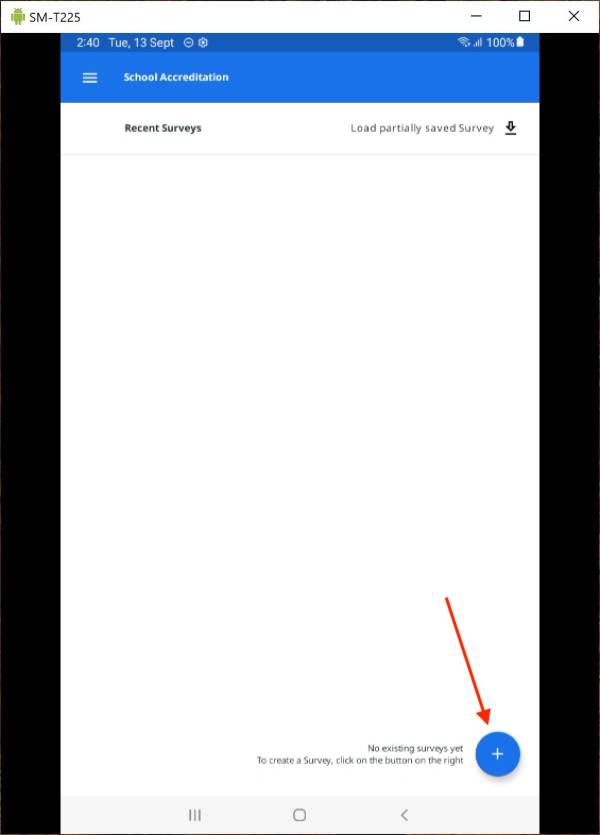
Creating a survey
You create a new survey by clicking on the + icon.
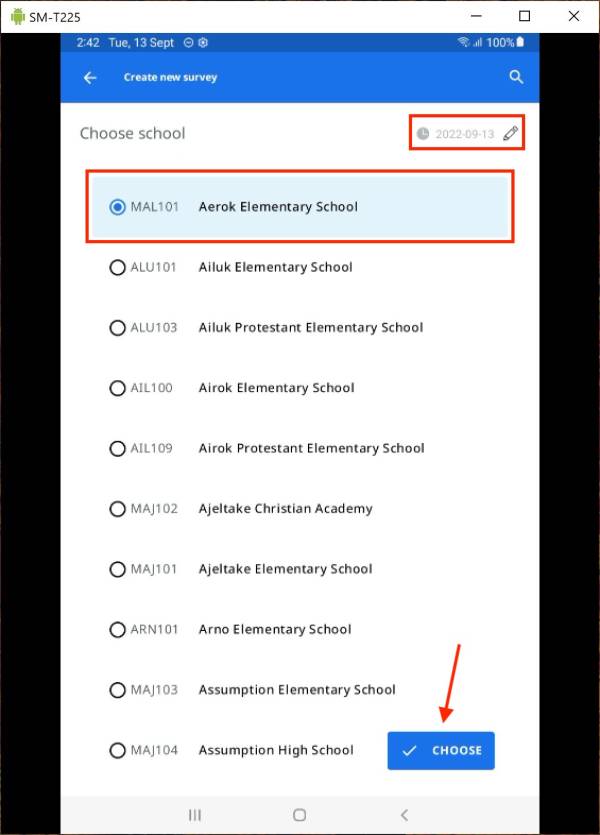
You will see the following. The list of schools in your country which you need to select from. And of interest is the date at the top right corner. Think of that date as a tag for that survey. It become important for advanced features such as offline merging of surveys between tablets. For most cases you can simply leave it unchanged. Then click on Choose when ready to create the new survey for your school.
Conducting a survey
Depending on the type of survey you should see something like the following. The School Accreditation survey used in some countries will be used as it is the most advanced survey. But they all work in nearly identical way.
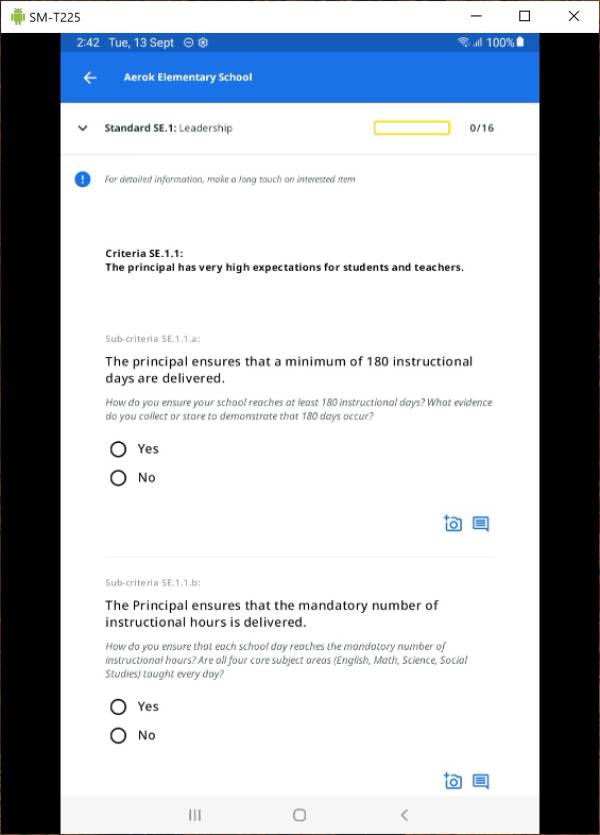
You can simply start answering questions (e.g. Yes/No in this case).
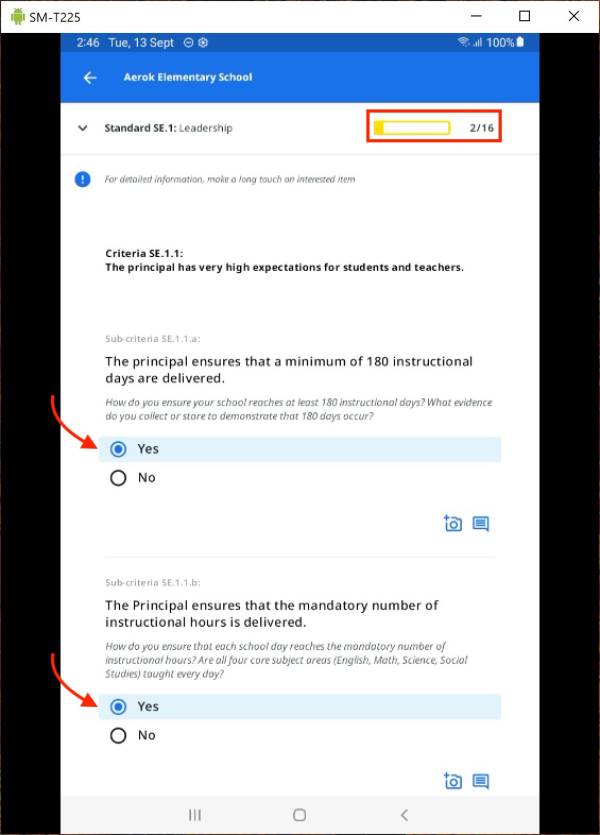
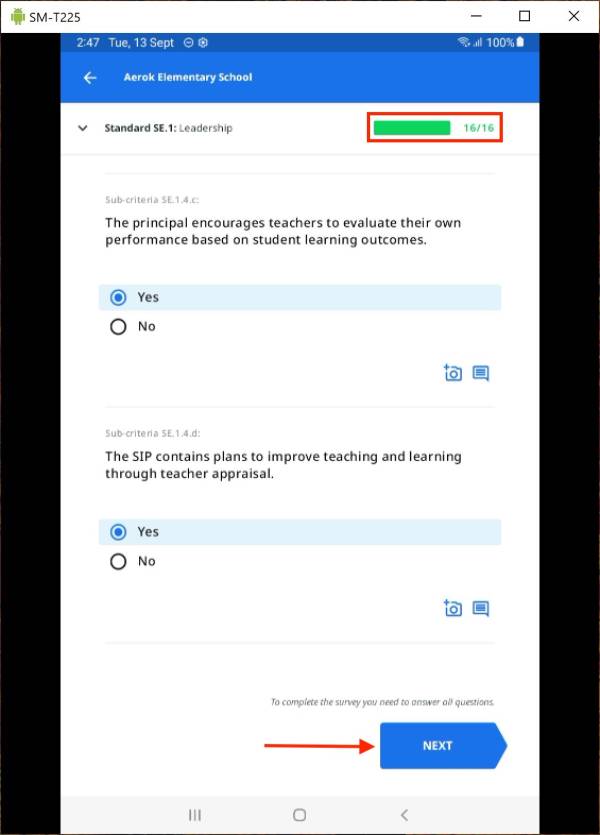
Note has you answer the questions there is a convenient progress bar at the top providing visual aid as to how many questions you have answered and how many left from your current section. At the end a section you can click Next to proceed to the following section.
Adding photos to a survey
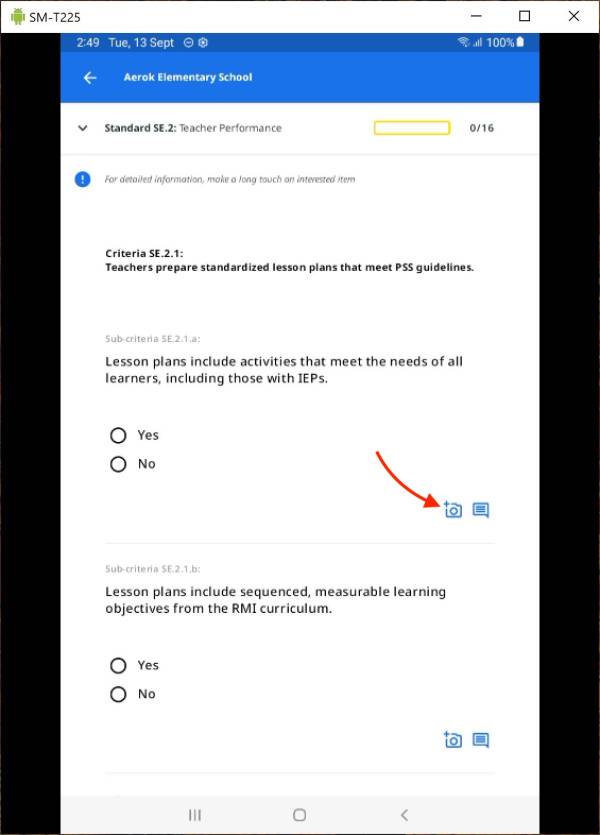
For any question in the survey you can optionally add photos. You simply click on the camera icon as shown below.
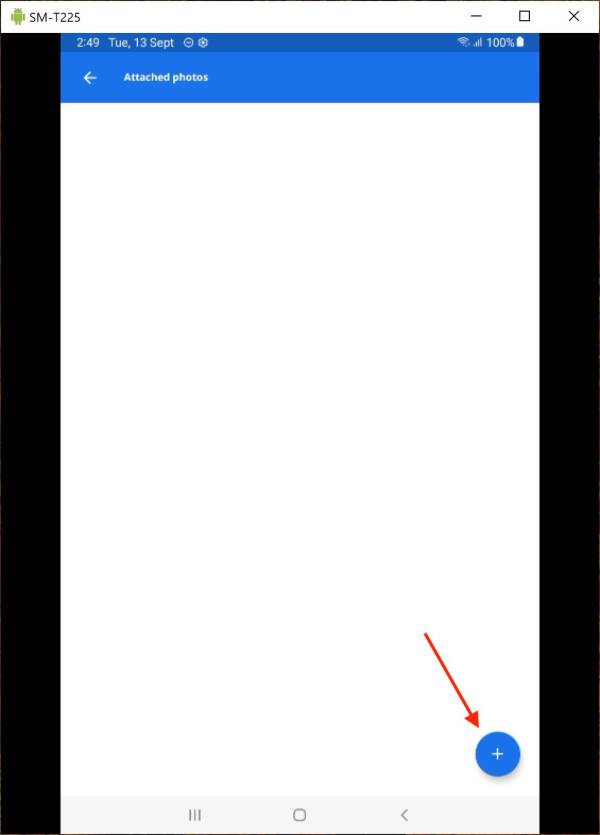
You will get into the following page where you can click on the + icon to open the camera and take a photo.
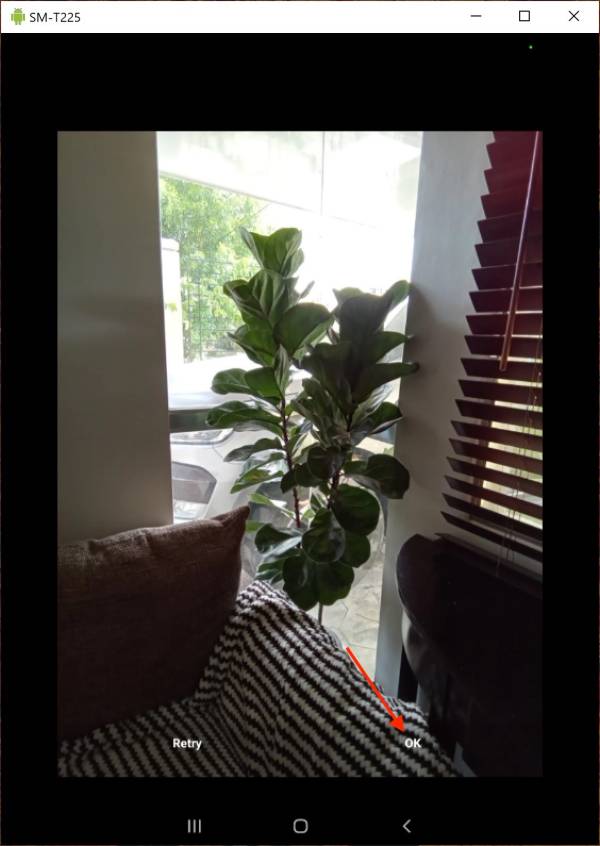
You can click on Ok to accept your photo or Retry to take another better one.
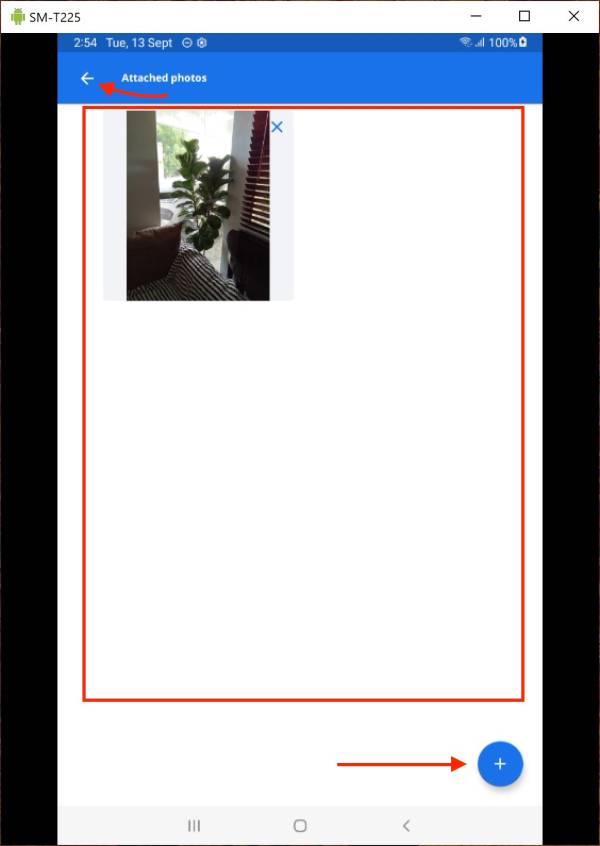
Once added it becauses available as shown below in the mini gallery of photos for that particular question. From there you can click again on the + icon to add more photos or on the back arrow ← icon to return to the survey.
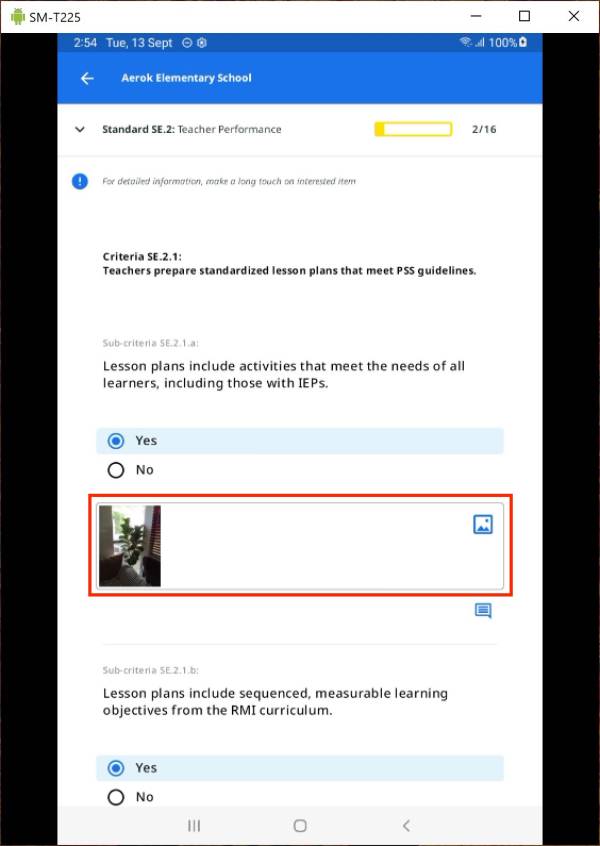
Returning to the survey will display thumbnails of your photos under their respective questions as shown below.
Adding comments to a survey
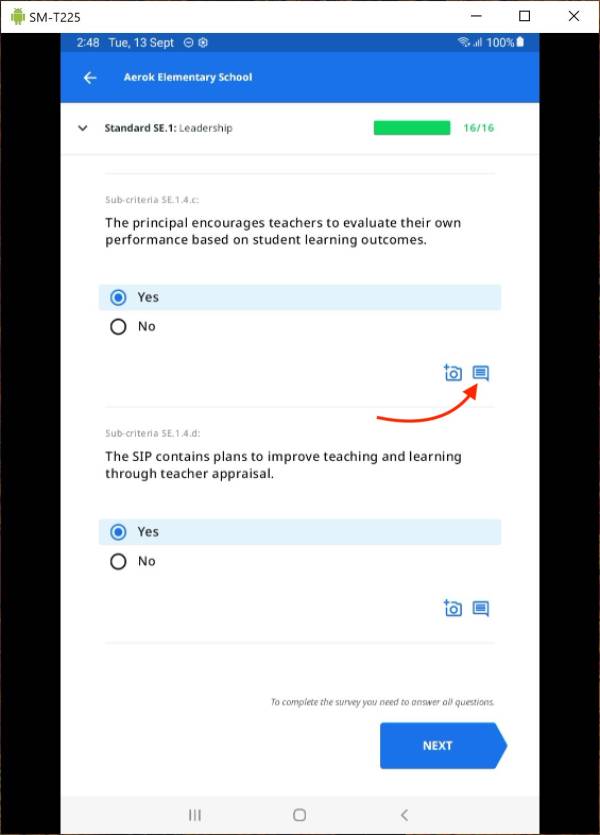
Adding comments to survey answers is similar to adding photos but simpler. Click on the comment icons as shown below.
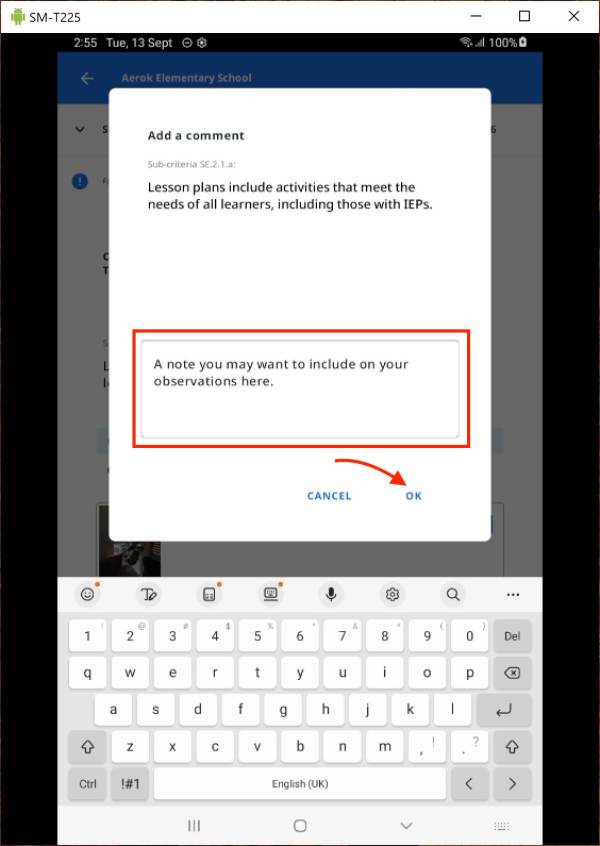
Enter your comment in the text box and click Ok.
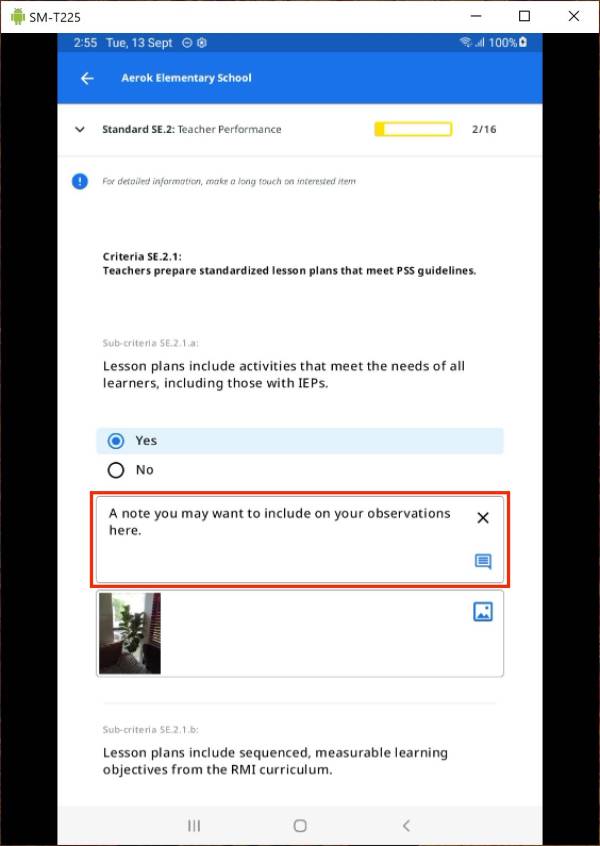
When returning to the survey you will then see the newly added comment as shown below.
Browsing a survey
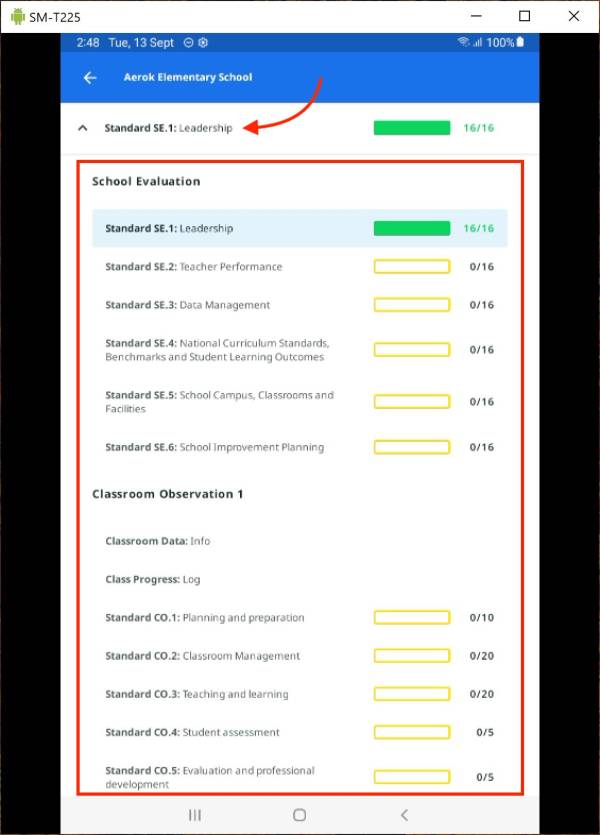
Surveys are often large containing several sections. The app offers a way to quickly browse through the survey. Anywhere in the survey you may be, you can click on the section name as shown below.

It will pull down the survey's categories and sections as shown below in the red rectangle. You can click on any of the sections and it will bring you directly to that section of the survey without having to go through section by section. Clicking back on the section at the top simply pulls back up the menu outline and returns you where you were.
You may also notice that the progress bars are showing there. Pulling down the category and section menu outline is also a way to quickly view progress of each sections for the whole survey at a glance.
Completing the survey
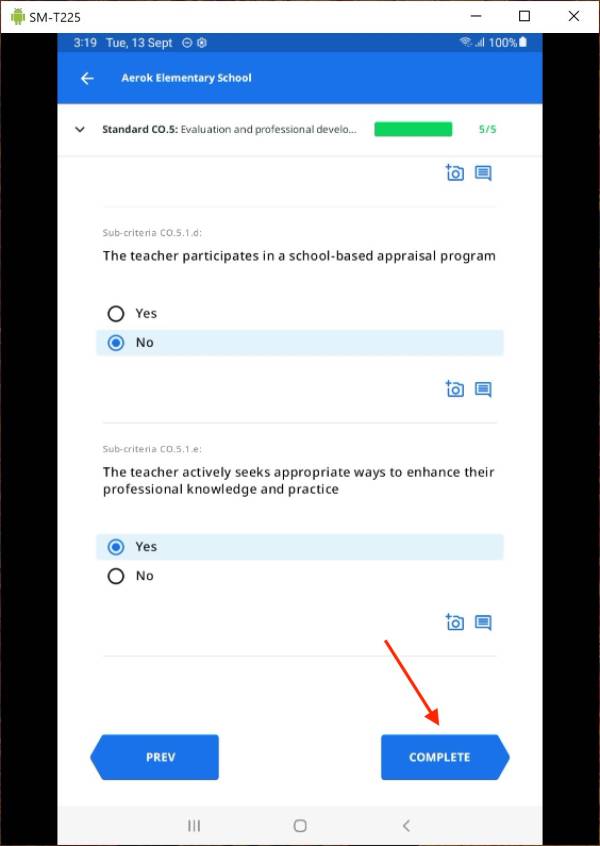
As you proceed through the whole survey section by section, question by question you will eventually get to the end and instead of Next you will see Complete as shown below. Complete should only be enabled if you have answered all required questions on the survey.
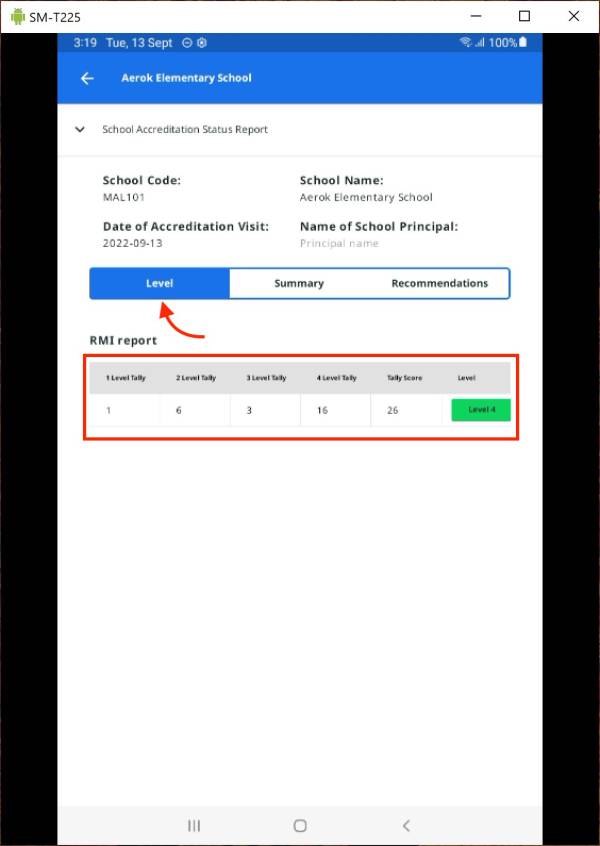
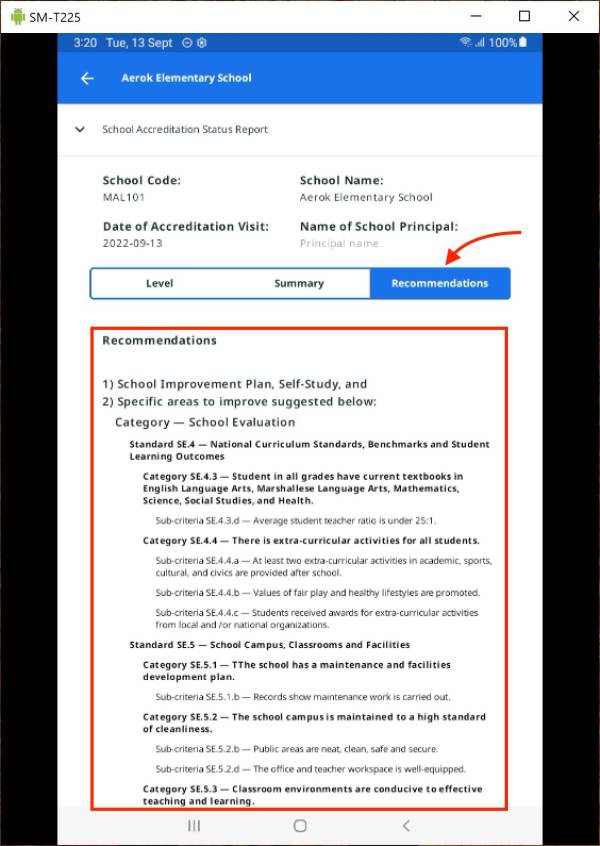
While this is not the case of all surveys the School Accreditation survey has a final report at the end that is automatically produced. The exact format will depend on your country. For example, it would look like the following shown in the next three illustrations.
The final tallies and Level.
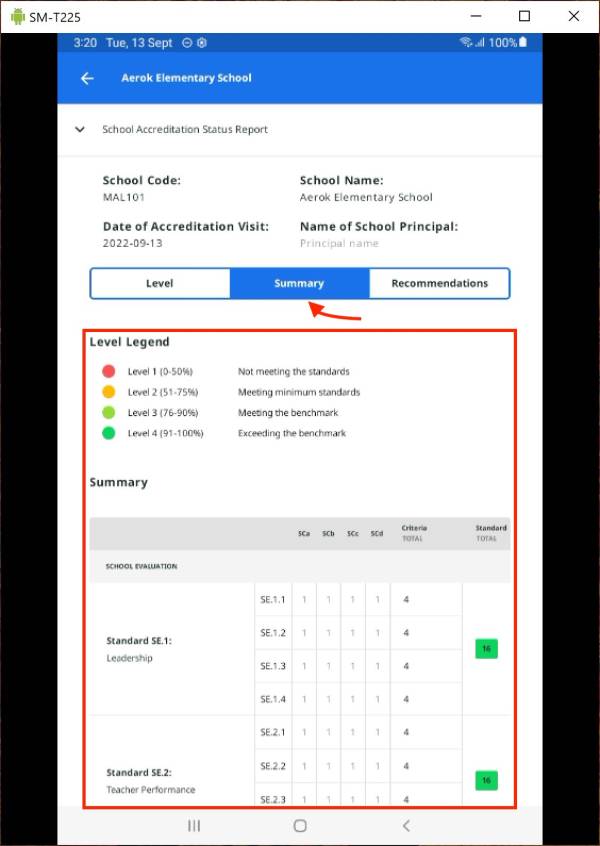
Summary of results by Standards.
Recommendations.
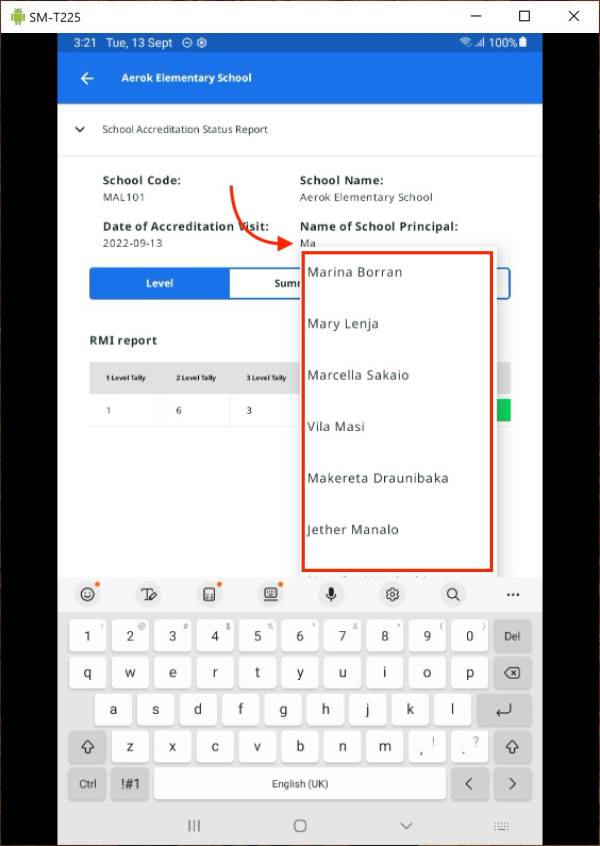
And finally, you can enter the name of the principal of the schools in the report. Click on Principal name, start typing you should get a drop down list of all teachers/principals matching your input.