Table of Contents
Pacific EMIS Education Survey Tool Android App Developer Guide
A work in progress simple guide to get developers ready with writing software for the Education Survey Tool Android app of the Pacific EMIS project.
Period vs Create and Edit Timestamps
The Period (actually called surveyTag in the software code) is not so much of a date as it is a special “tag” or identifier for the survey. Think of the period and the school name as a combined primary key in database parlance. Since an individual school can have more than one survey over the years, this Period is used to identify a specific survey when combined with the school name. It is set on creation of a new surveys as shown below. It defaults to the day of creation but can be edited as required.
Aside from differentiating the actual survey for the school (which can have several over the years), another place it becomes important is when merging partial surveys. The tablet app will only list surveys of same school names and period, a very desirable attribute of the merging feature. A common issue in the past is a worker would start his partial survey on one tablet on say Monday and hence get that period set for that day. Then another team member would start the next day on his own partial and different tablet therefore the survey would end up with a period of the next day making merging impossible. We added the ability to change this Period to match that of the partial done previously (usually a day or two before). This has proved to be a very useful refinement. The ability to change a period is shown in the screenshot below.
Note that this is *not* the same as the typical createDateTime timestamp and lastEditedDateTime timestamp shown in orange below. Those are two other data columns used pretty much everywhere in the system specifically as simple audit data. Those, are used as the Date/Time of the actual logging. For example, createDateTime can be used for Date/Time of the survey Created log, while lastEditedDateTime can be used for the Date/Time of any other logging operation that happens beyond a survey already created (i.e. Merged, Change, etc.)

Release build instructions
Install and open Android Studio (during installation you will be prompted to download SDK - download 27).
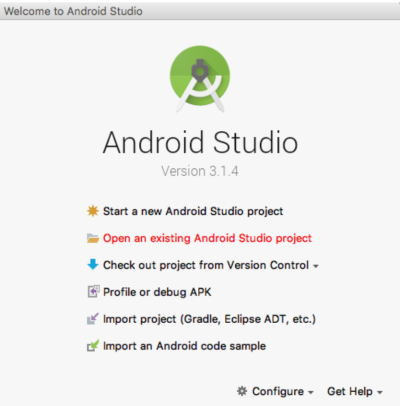
Click Open an existing Android Studio project. Select project root folder and click Open.
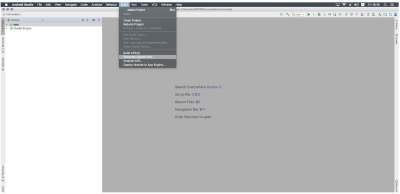
Navigate to Build → Generate Signed APK…
Click Next.
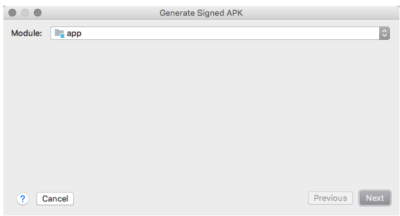
Click … button.
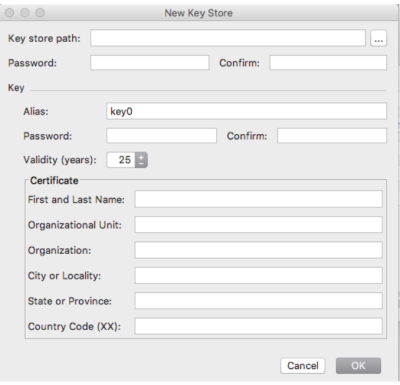
Create keystore. Note: this keystore file used in Cloud integration instructions.
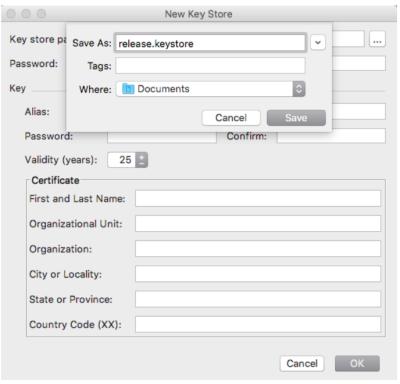
Fill certificate information. Click Ok. Click Next.
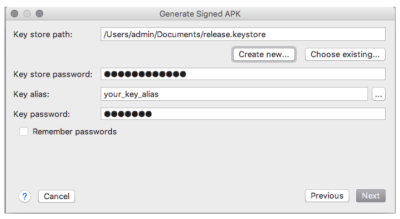
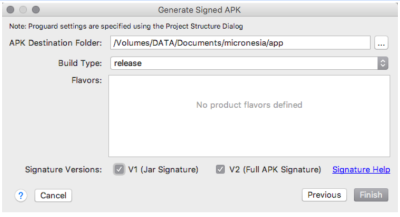
Choose release build type. Check both V1 and V2 signatures. Click Finish.
Wait for build. For the first build there will be some errors. They will reveal in Build tab in the Android Studio bottom panel. Just apply suggested fixes. After successful build popup will appear:

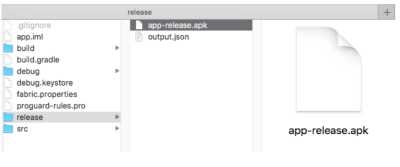
Click locate to reveal signed APK in your files explorer.
